
Perspective Building
Perspective Project
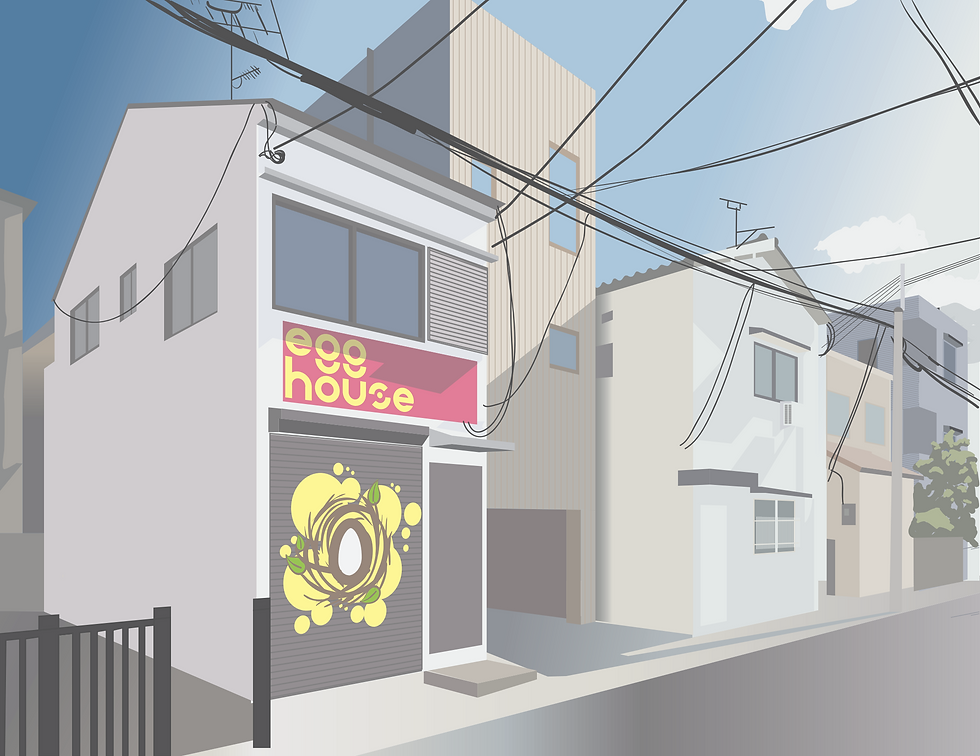
Project 4 Perspective Building
Step 1: Select a Reference Image
Find a photo of a building that matches the industry and vibe of the company you designed the logo for.
Example: If you designed a logo for a yoga studio, look for a small suburban strip mall.
Example: If the company is geared toward surfing, look for a beachfront storefront.
You will use this reference to draw a building in perspective tailored to your specific brand.
Step 2: Establish Your Perspective Grid
Once you have selected your reference image, set up a perspective grid that accurately matches the angle of the building in the photo.
Important Rule: Once your perspective grid and horizon line are established, do not change them. Altering the grid mid-drawing will cause any new elements to look distorted and mismatched.
Step 3: Block Out and Detail the Building
With your grid locked in, you can begin constructing the components of your building. Keep the following technical guidelines in mind as you work:
Anchor the Horizon Line: Ensure your horizon line is grounded within the composition so your building feels structurally sound and doesn't appear to float off into nowhere.
Apply Highlights and Shadows: Define the form of your building by adding highlights and shadows to the window glass and the planes of the walls. This creates depth and realism.
Know What to Keep Flat: Not every element should follow the perspective grid. Objects that are inherently round or cylindrical (such as light poles) should be left flat. Forcing these shapes into a hard angular perspective will distort them.
Utilize Live Trace for Textures: You can use the Live Trace tool to quickly add complex supporting details and textures, such as brickwork on the walls or other architectural accents throughout the piece.
Related Weekly Assignments
Assignment 8: Perspective Grid
Learning Guides
Examples


